
Activate and manage community reporting
Check availability
Section titled “Check availability”Community reporting is available to eligible settings and is hidden for childminder settings. A setting administrator needs access to Command → Community Reporting.
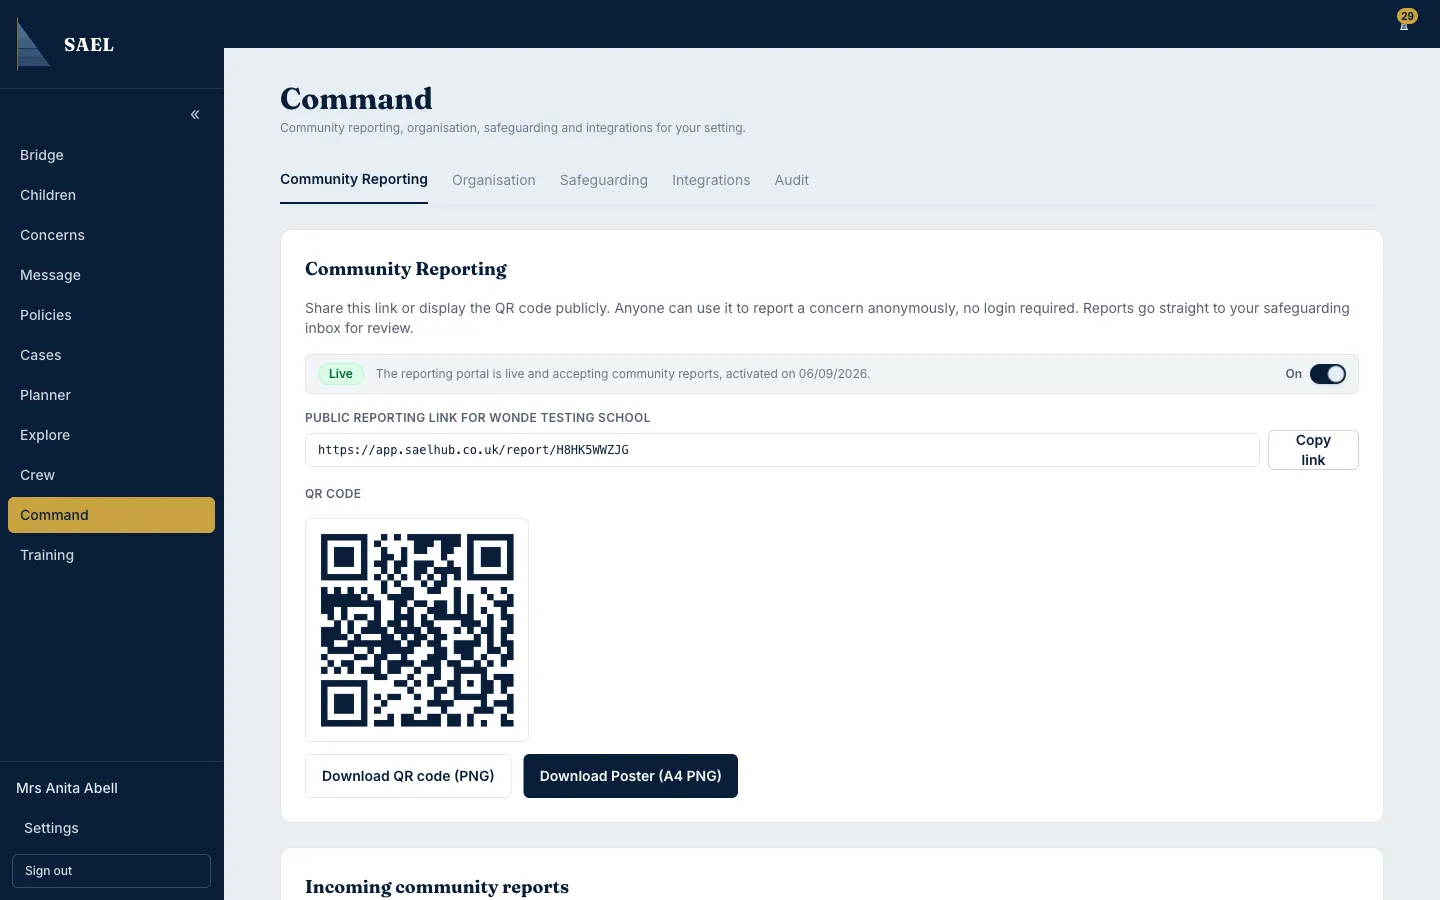
Activate the portal
Section titled “Activate the portal”- Open Command.
- Select Community Reporting.
- Review the portal status and the setting name shown on the page.
- Turn on the Community reporting portal switch.
- Wait for the activation confirmation.
- Copy the public reporting link using Copy link. Keep the link associated with the correct setting.
- Download the QR image or use the poster download control where offered.
- Test the link with an appropriate internal check before displaying it publicly. Make sure the published link and QR code point to the right setting.
Deactivating the portal stops the public link and printed QR codes from accepting new reports. Reports already received are not deleted.
Review incoming reports
Section titled “Review incoming reports”- Return to Command → Community Reporting and find Incoming community reports.
- Use the status filter to choose the queue you need to review. New reports normally appear in the awaiting-review queue.
- Open a report to expand its details. Anonymous reports are labelled as anonymous.
- Review the report as a standalone community report first. It is not automatically a child record.
- If it is appropriate and you have permission, use the triage controls to link the report to the relevant child or staff record. Check the selected person carefully before confirming the link.
- Add a triage note or reason when the form asks for it, then save the triage action.
Only link a report to a child or staff record when the relationship is clear and justified. Preserve the report’s original context. Community reporting is not an emergency channel; display the setting’s emergency guidance alongside the link where appropriate.