
Import children or staff in bulk
Before starting
Section titled “Before starting”Bulk Import is available to DSL, Deputy DSL, Headteacher and SAEL Administrator roles. Prepare a clean spreadsheet and decide which setting should receive the information. The supported workflow is review-before-save: SAEL maps the columns, checks the rows and lets you inspect the results before confirming.
Open Bulk Import
Section titled “Open Bulk Import”- Open Command → Organisation → Data & imports.
- Select Start a bulk import.
- If you are a SAEL Administrator, choose the target setting in the setting picker before uploading. Check the setting name and type shown in the working-setting banner. Use Change setting if you selected the wrong one.
- A setting-level DSL/Deputy DSL/Headteacher account is already scoped to its own setting.
Choose the records to import
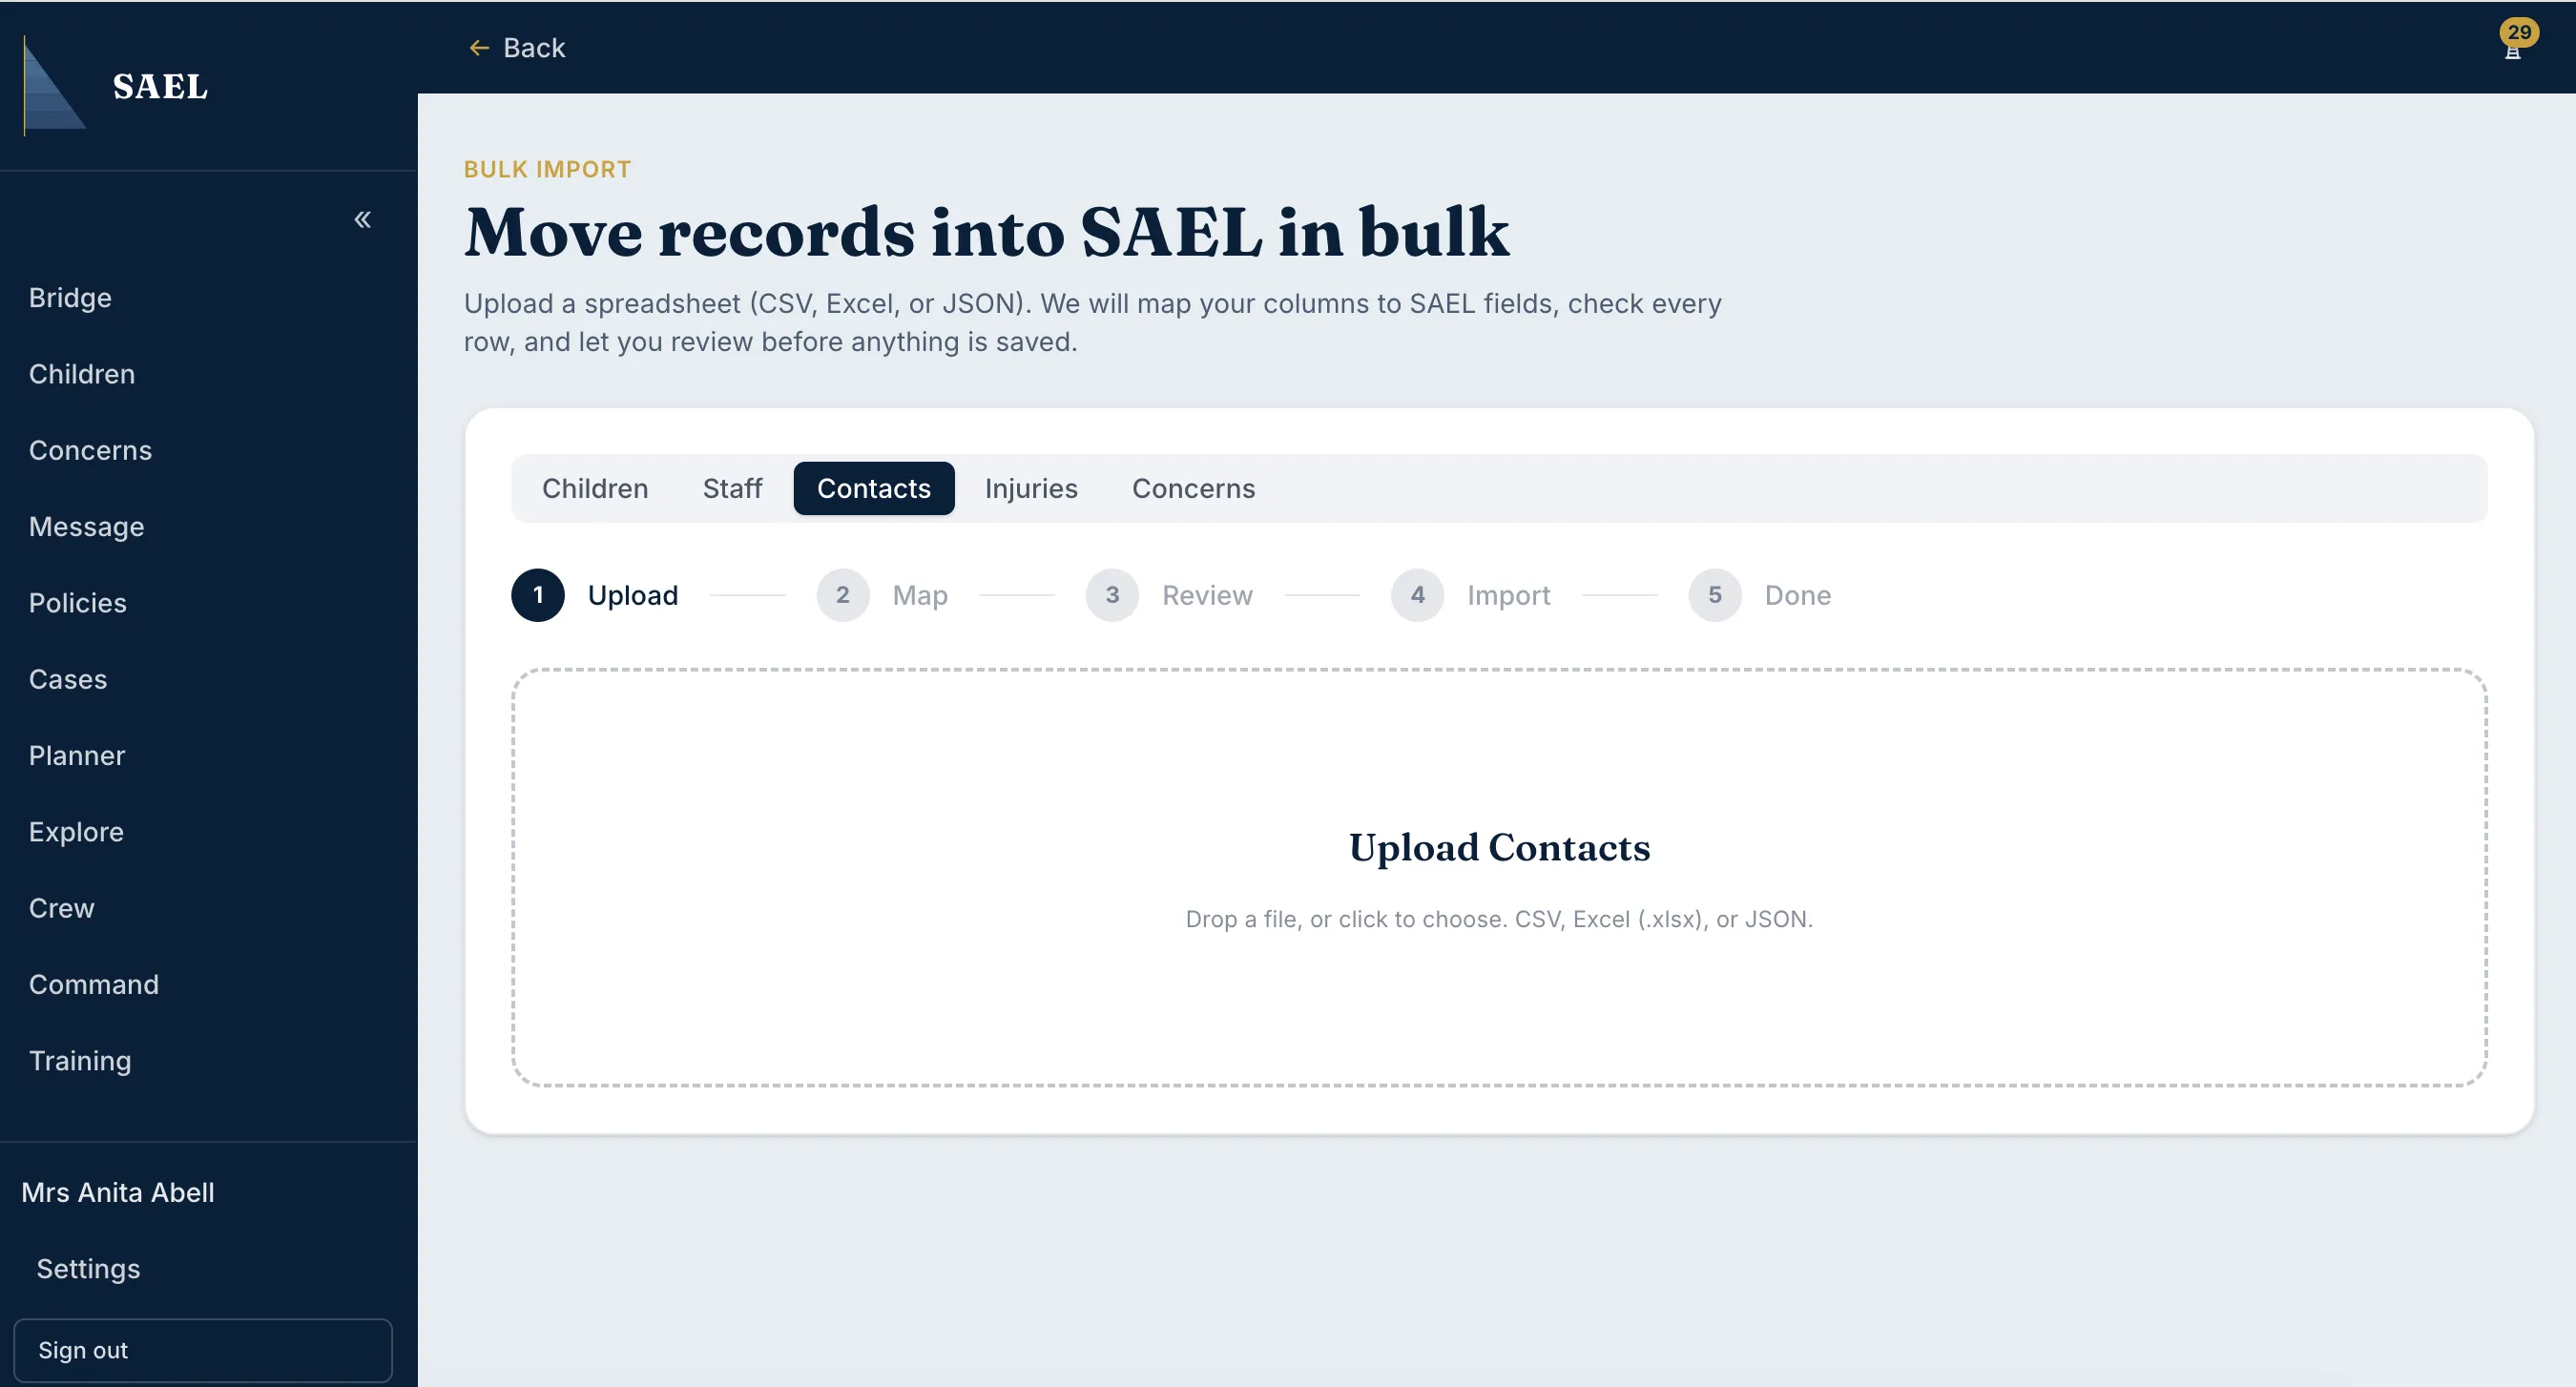
Section titled “Choose the records to import”- Select one of the import tabs: Children, Staff, Contacts, Injuries or Concerns.
- If the selected tab offers more than one sheet/entity type, open Which sheet are you importing? and choose the correct one.
- Follow the recommended order when linked sheets are involved: start with the primary sheet, then import related sheets that refer to SAEL numbers or legacy references.
Upload, map and validate
Section titled “Upload, map and validate”- Choose your CSV, Excel or JSON file in the uploader.
- Review the fields SAEL detects and map each source column to the correct SAEL field. Do not map a column based only on a similar-looking heading; check what the values actually contain.
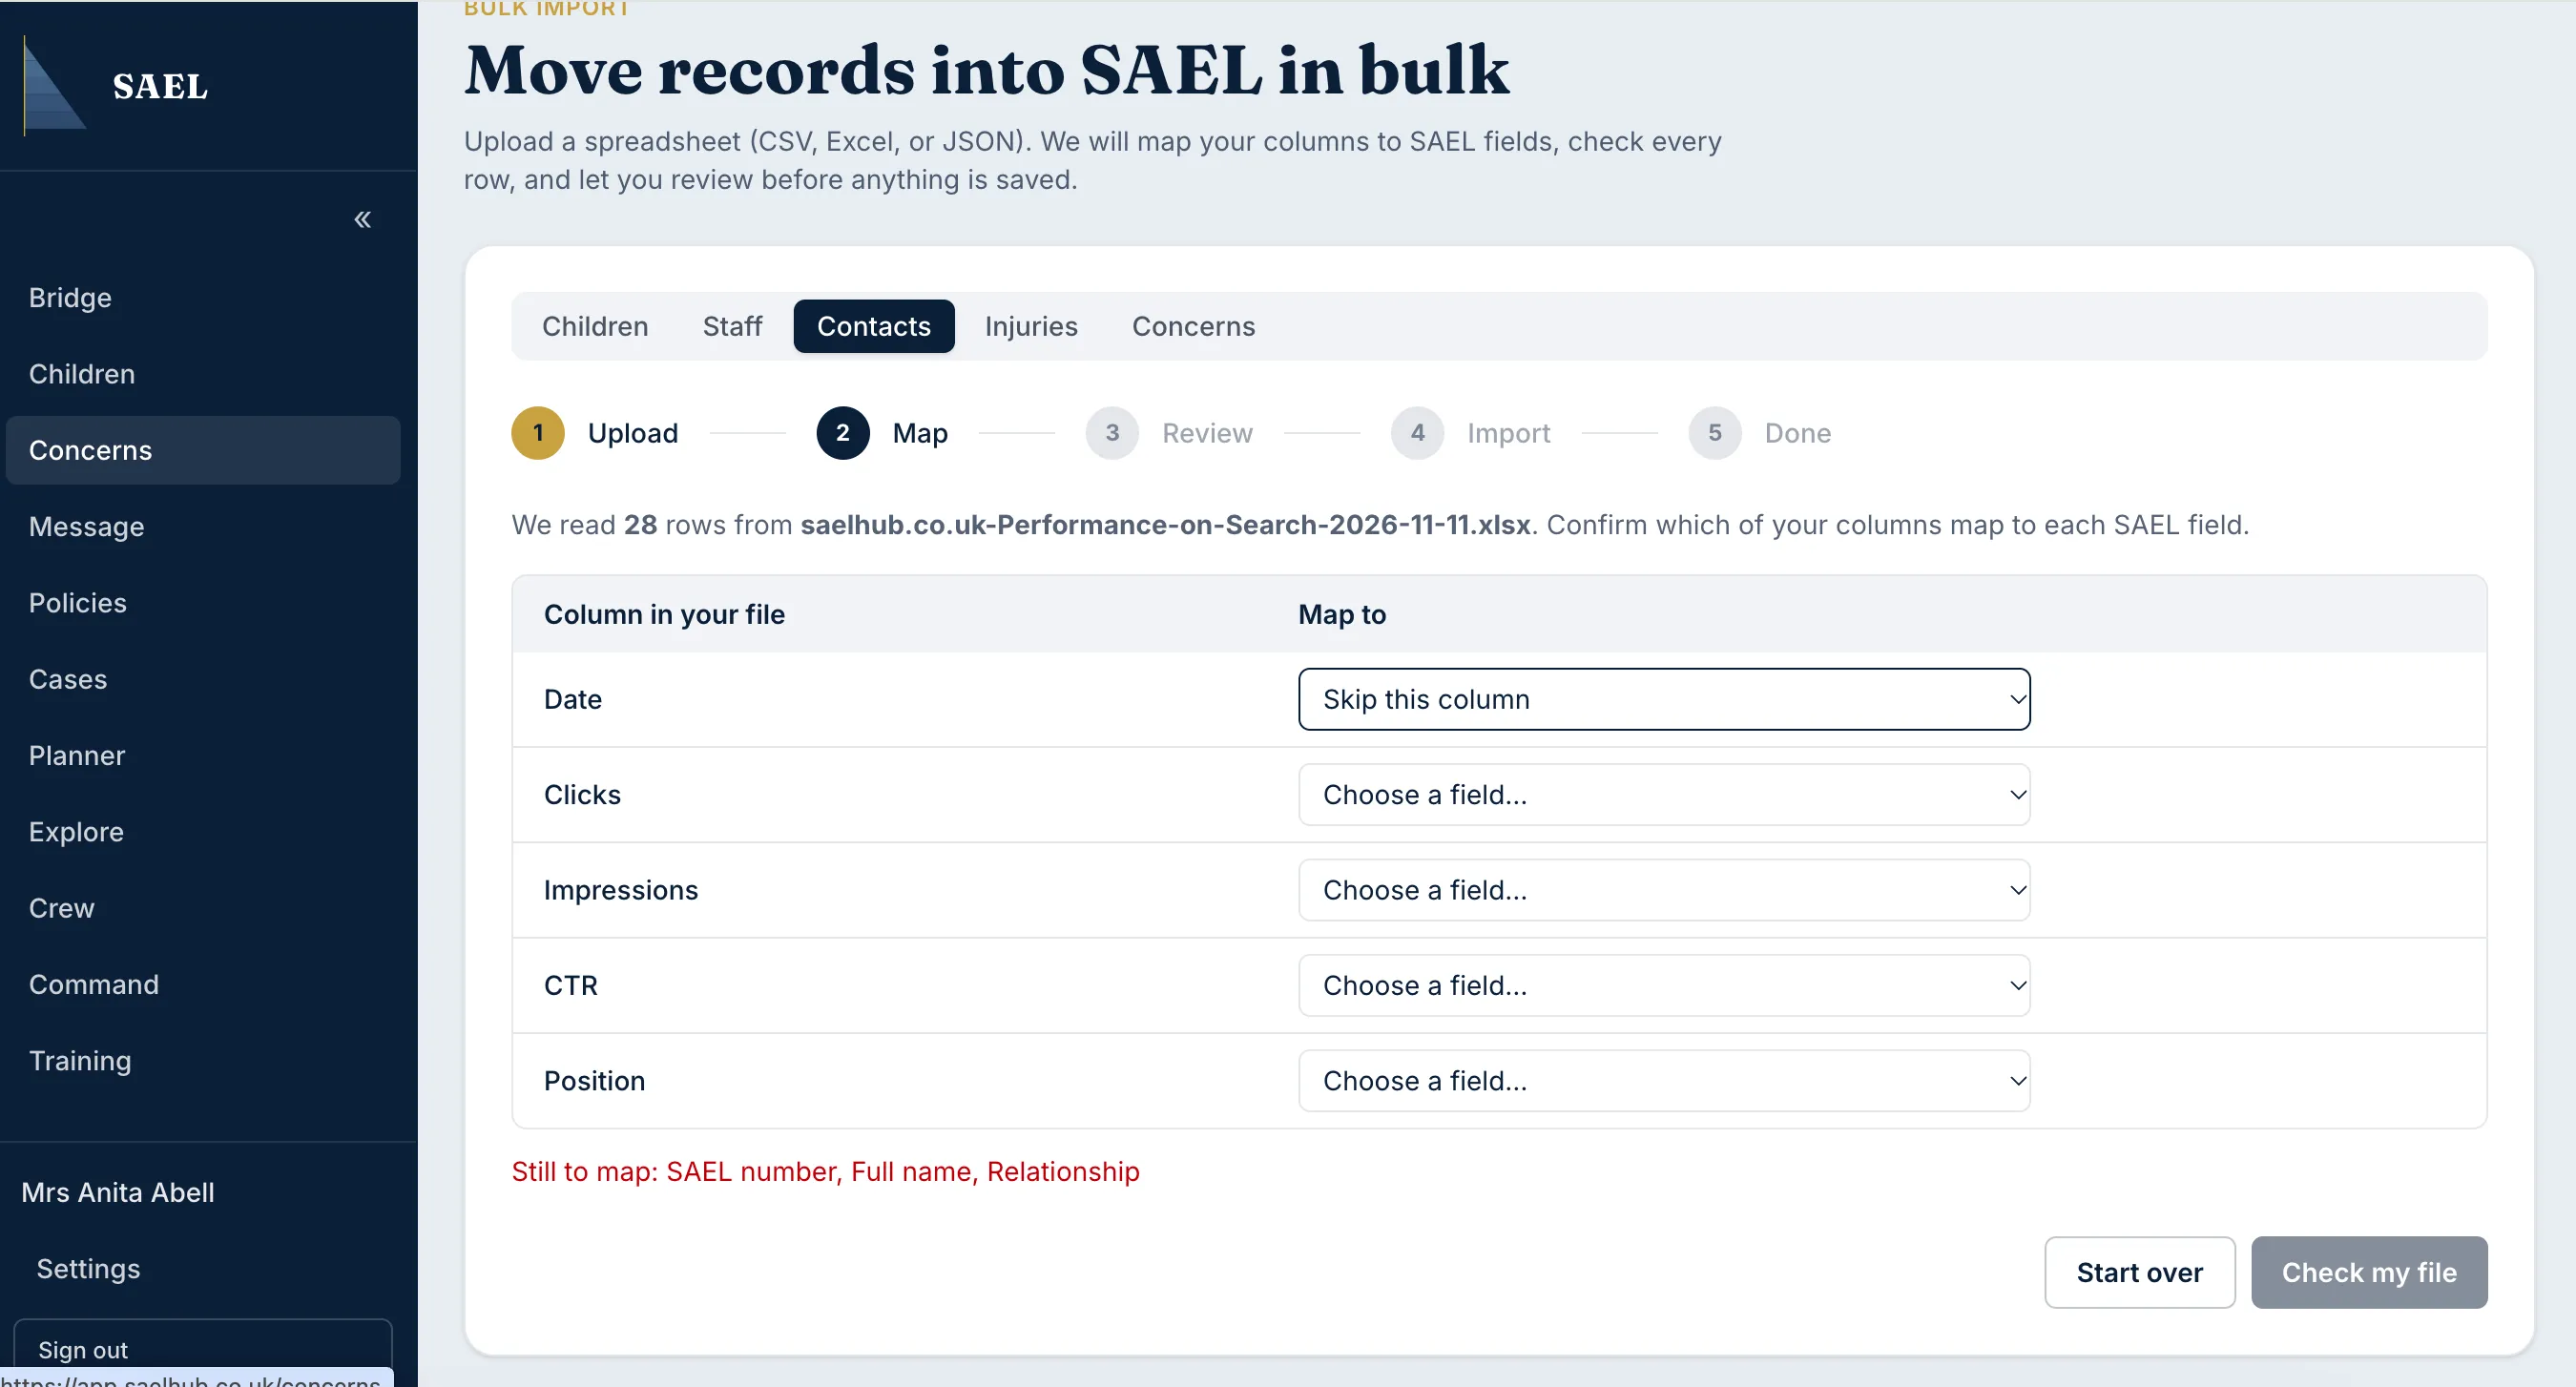
- Review required fields and any rows SAEL marks as incomplete, duplicated or invalid.
- Correct the source spreadsheet where appropriate, then upload/review again. Do not force questionable data through merely to complete the import.
- Inspect the full review/preview. Check the target setting, record type, row counts and any warnings.
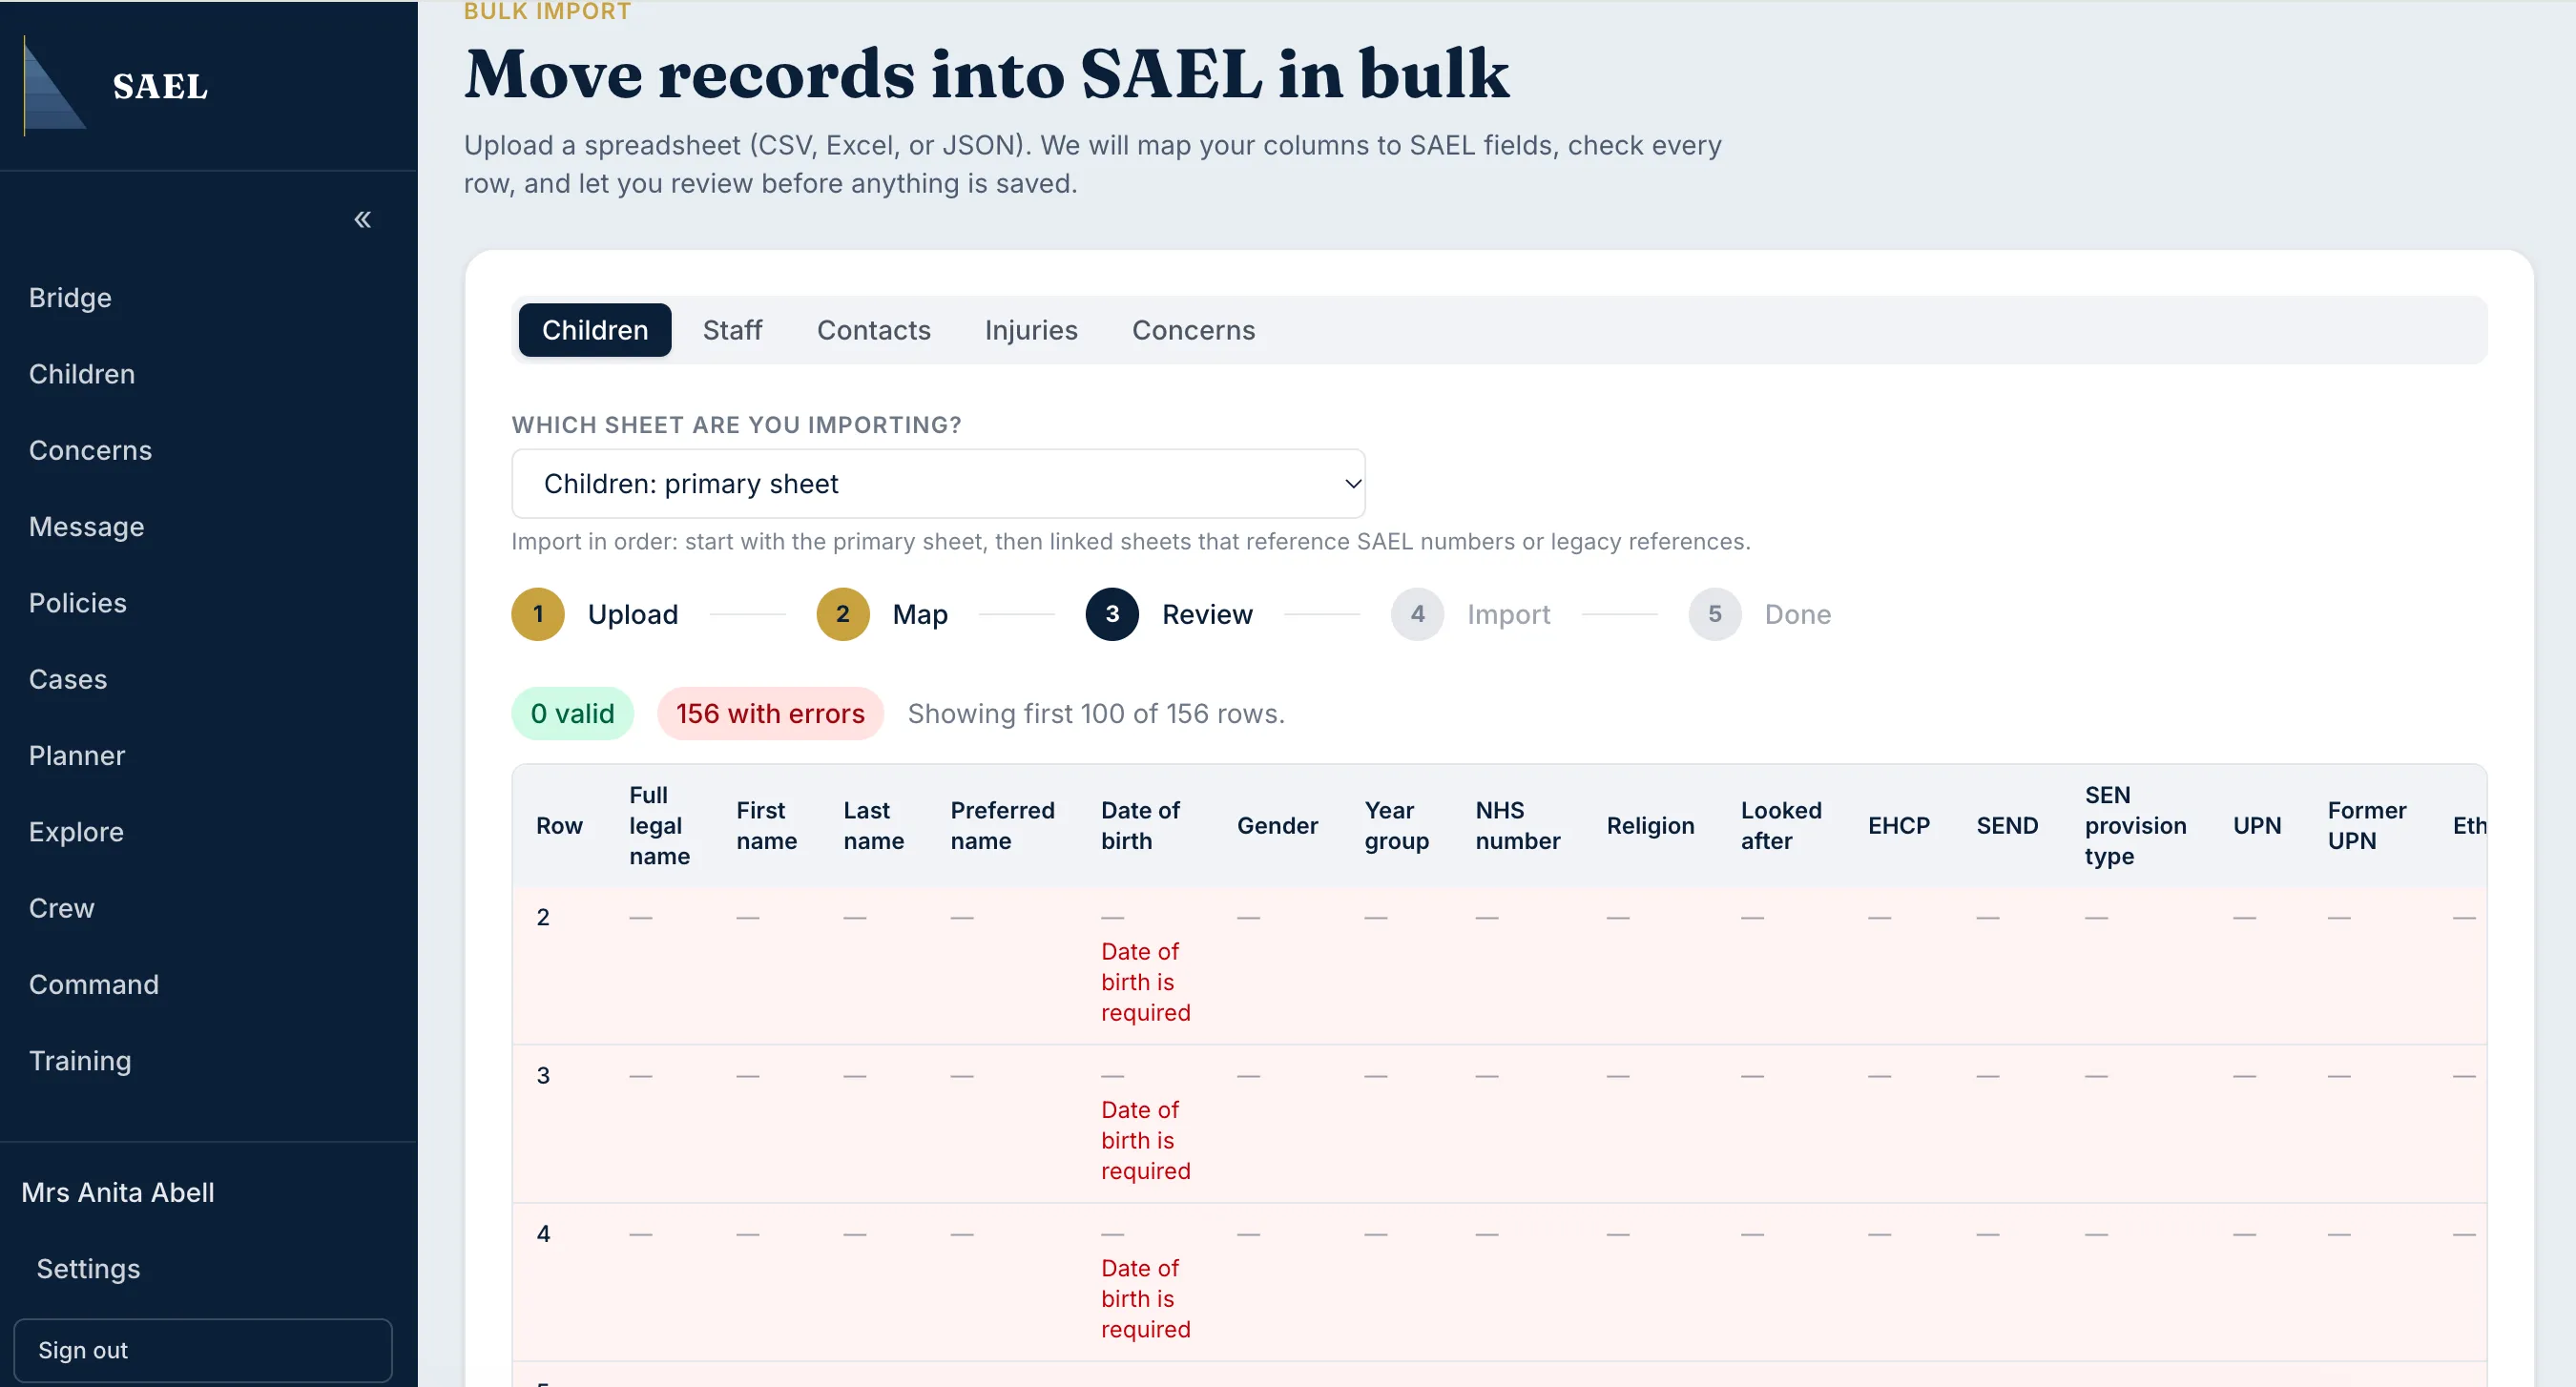
- Only when the preview is correct, select the final confirm/import action.
- Wait for the result and inspect the imported records in their normal SAEL areas.
Nothing should be saved merely because a file has been uploaded or its columns mapped. The final confirmation is the point at which you authorise the import. Keep the original spreadsheet securely and follow your data-protection procedures for temporary working files.